SERVING CLIENTS
NATIONWIDE
BASED IN THE
ATLANTA, GA AREA
SERVING CLIENTS
NATIONWIDE
BASED IN THE
ATLANTA, GA AREA

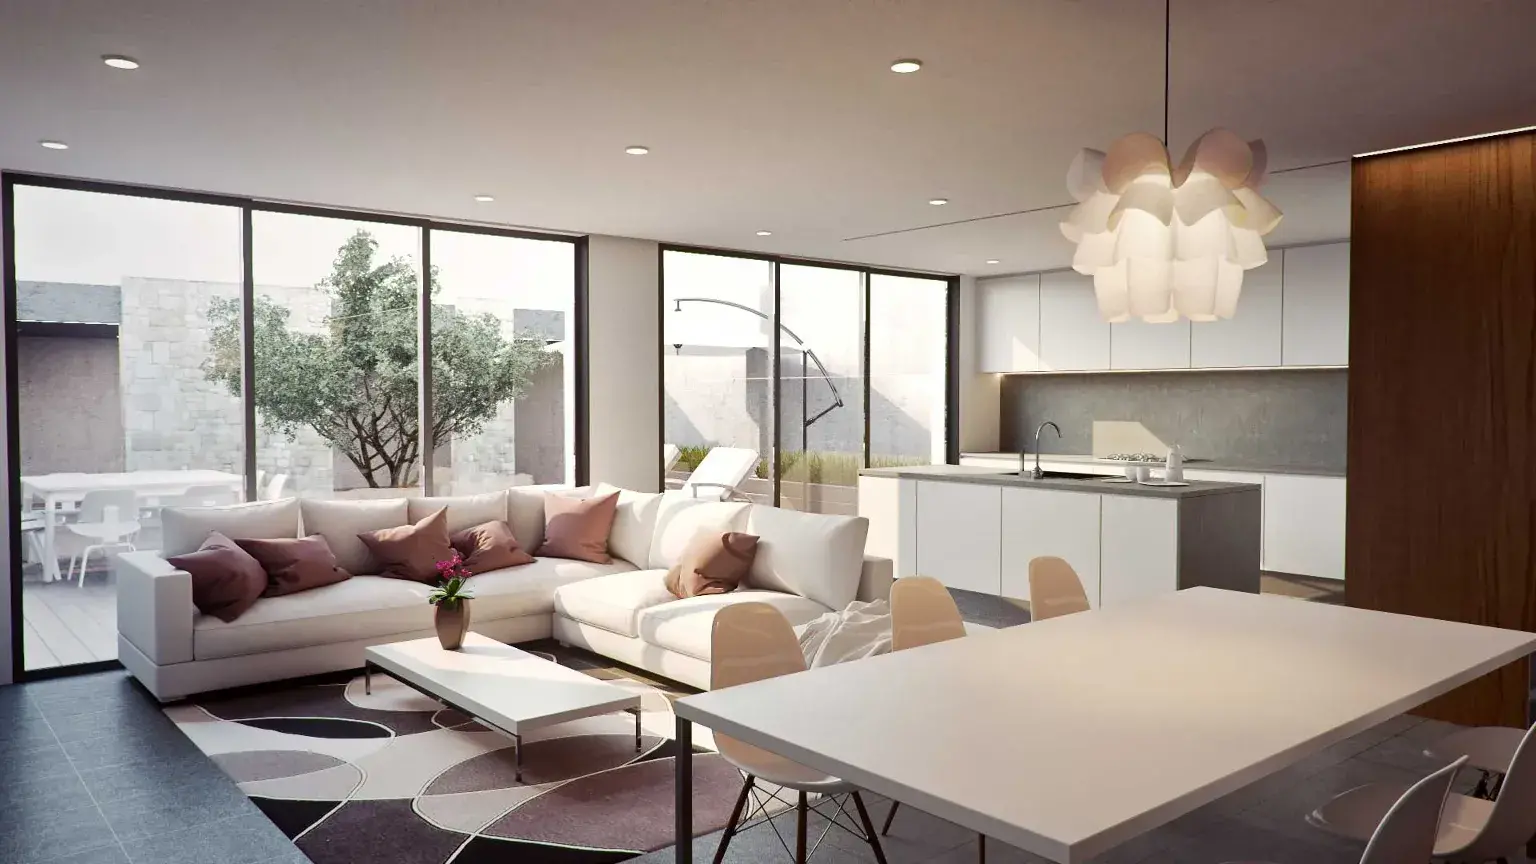
Adding shiplap to a kitchen island is an easy and affordable way to add character to your kitchen!

When we bought our home, the owners used it as a rental property for years. There was no character, everything was one color, and they didn’t keep up with the home. But, I saw the potential this house had to make it our home that our family would create so many memories in. So we took the plunge and purchased it.
My hubby and I love taking on DIY projects, so we knew we could make this outdated, builder grade 90’s home something unique and full of character.
Here’s what our kitchen looked like before we moved in. My littlest babe, Jackson, was only 5 months at the time.

One orange room. That’s how the whole house was actually, but since we spend so much time in the kitchen, we wanted to tackle this space first. First, we had someone come in and paint our cabinets. We probably could’ve done this ourselves, but with a 7 month old at the time, there was no spare time. So, we hired it out.
Here’s what we used to tackle this quick project.
Supplies:
– Brad Nailer
– Brad Nails
– Shiplap – you can get it in a box of 6 strips or individually here
– Liquid Nails
– Molding & Trim Sealant
– Caulk Gun
– Miter Saw – this is the one my hubby loves. He has had several and this one is his favorite.
– Level
First, we we wanted to center the island in the kitchen. It was off centered, making it closer to the fridge. The countertop had a ledge that had room to fit a few counter stools under it, but if someone sat in it, you couldn’t walk around them. Getting something in the fridge also wasn’t an option while someone was sitting there. So, we decided to turn our island to be centered in our kitchen.
Replacing our countertops were not in the budget, so we decided to turn the island to make the island feel more centered in the room. This also moved the placement of where we could put counter stools, which made a lot more sense to us! It’s always fun when guests are over and they can sit at the counter while we cook or prep food. We had to get the countertop slab cut to fit the new layout, but it wasn’t much they had to cut!

We took off the countertop and put it in the garage while we turned the island. What we found out was the island wasn’t even secured to the floors. The counter top wasn’t even secured to the island either! Side note: the owners that sold us the house claimed they replaced all of their countertops within the last two years … what we’ve noticed is they took A LOT of shortcuts in their “updates” in this house.
We have an outlet in the island, so we had to turn off the breaker before we began any of that. Do not attempt this unless you have experience with electricity! Fortunately, my hubby works with power for a living, so he has experience with this.

We used Primed Pine Nickel Gap Shiplap Board. We cut them to the size of the island. After we cut them to size, putting them up was easy and quick! We used liquid nail glue to secure it to the sides before we started nailing the boards into the island. I love how using one size boards allowed us to make it seamless across the front of the island. The cuts on the ends of the island do not have to be perfect as they will be covered with a trim piece, so pick an arbitrary number close to the length of the island and cut all your boards at once to save time. Again, make sure to cut out your space for your electrical box.


Next, we added our trim pieces to the front of the island to cover up those rough edges to give it a finished look.

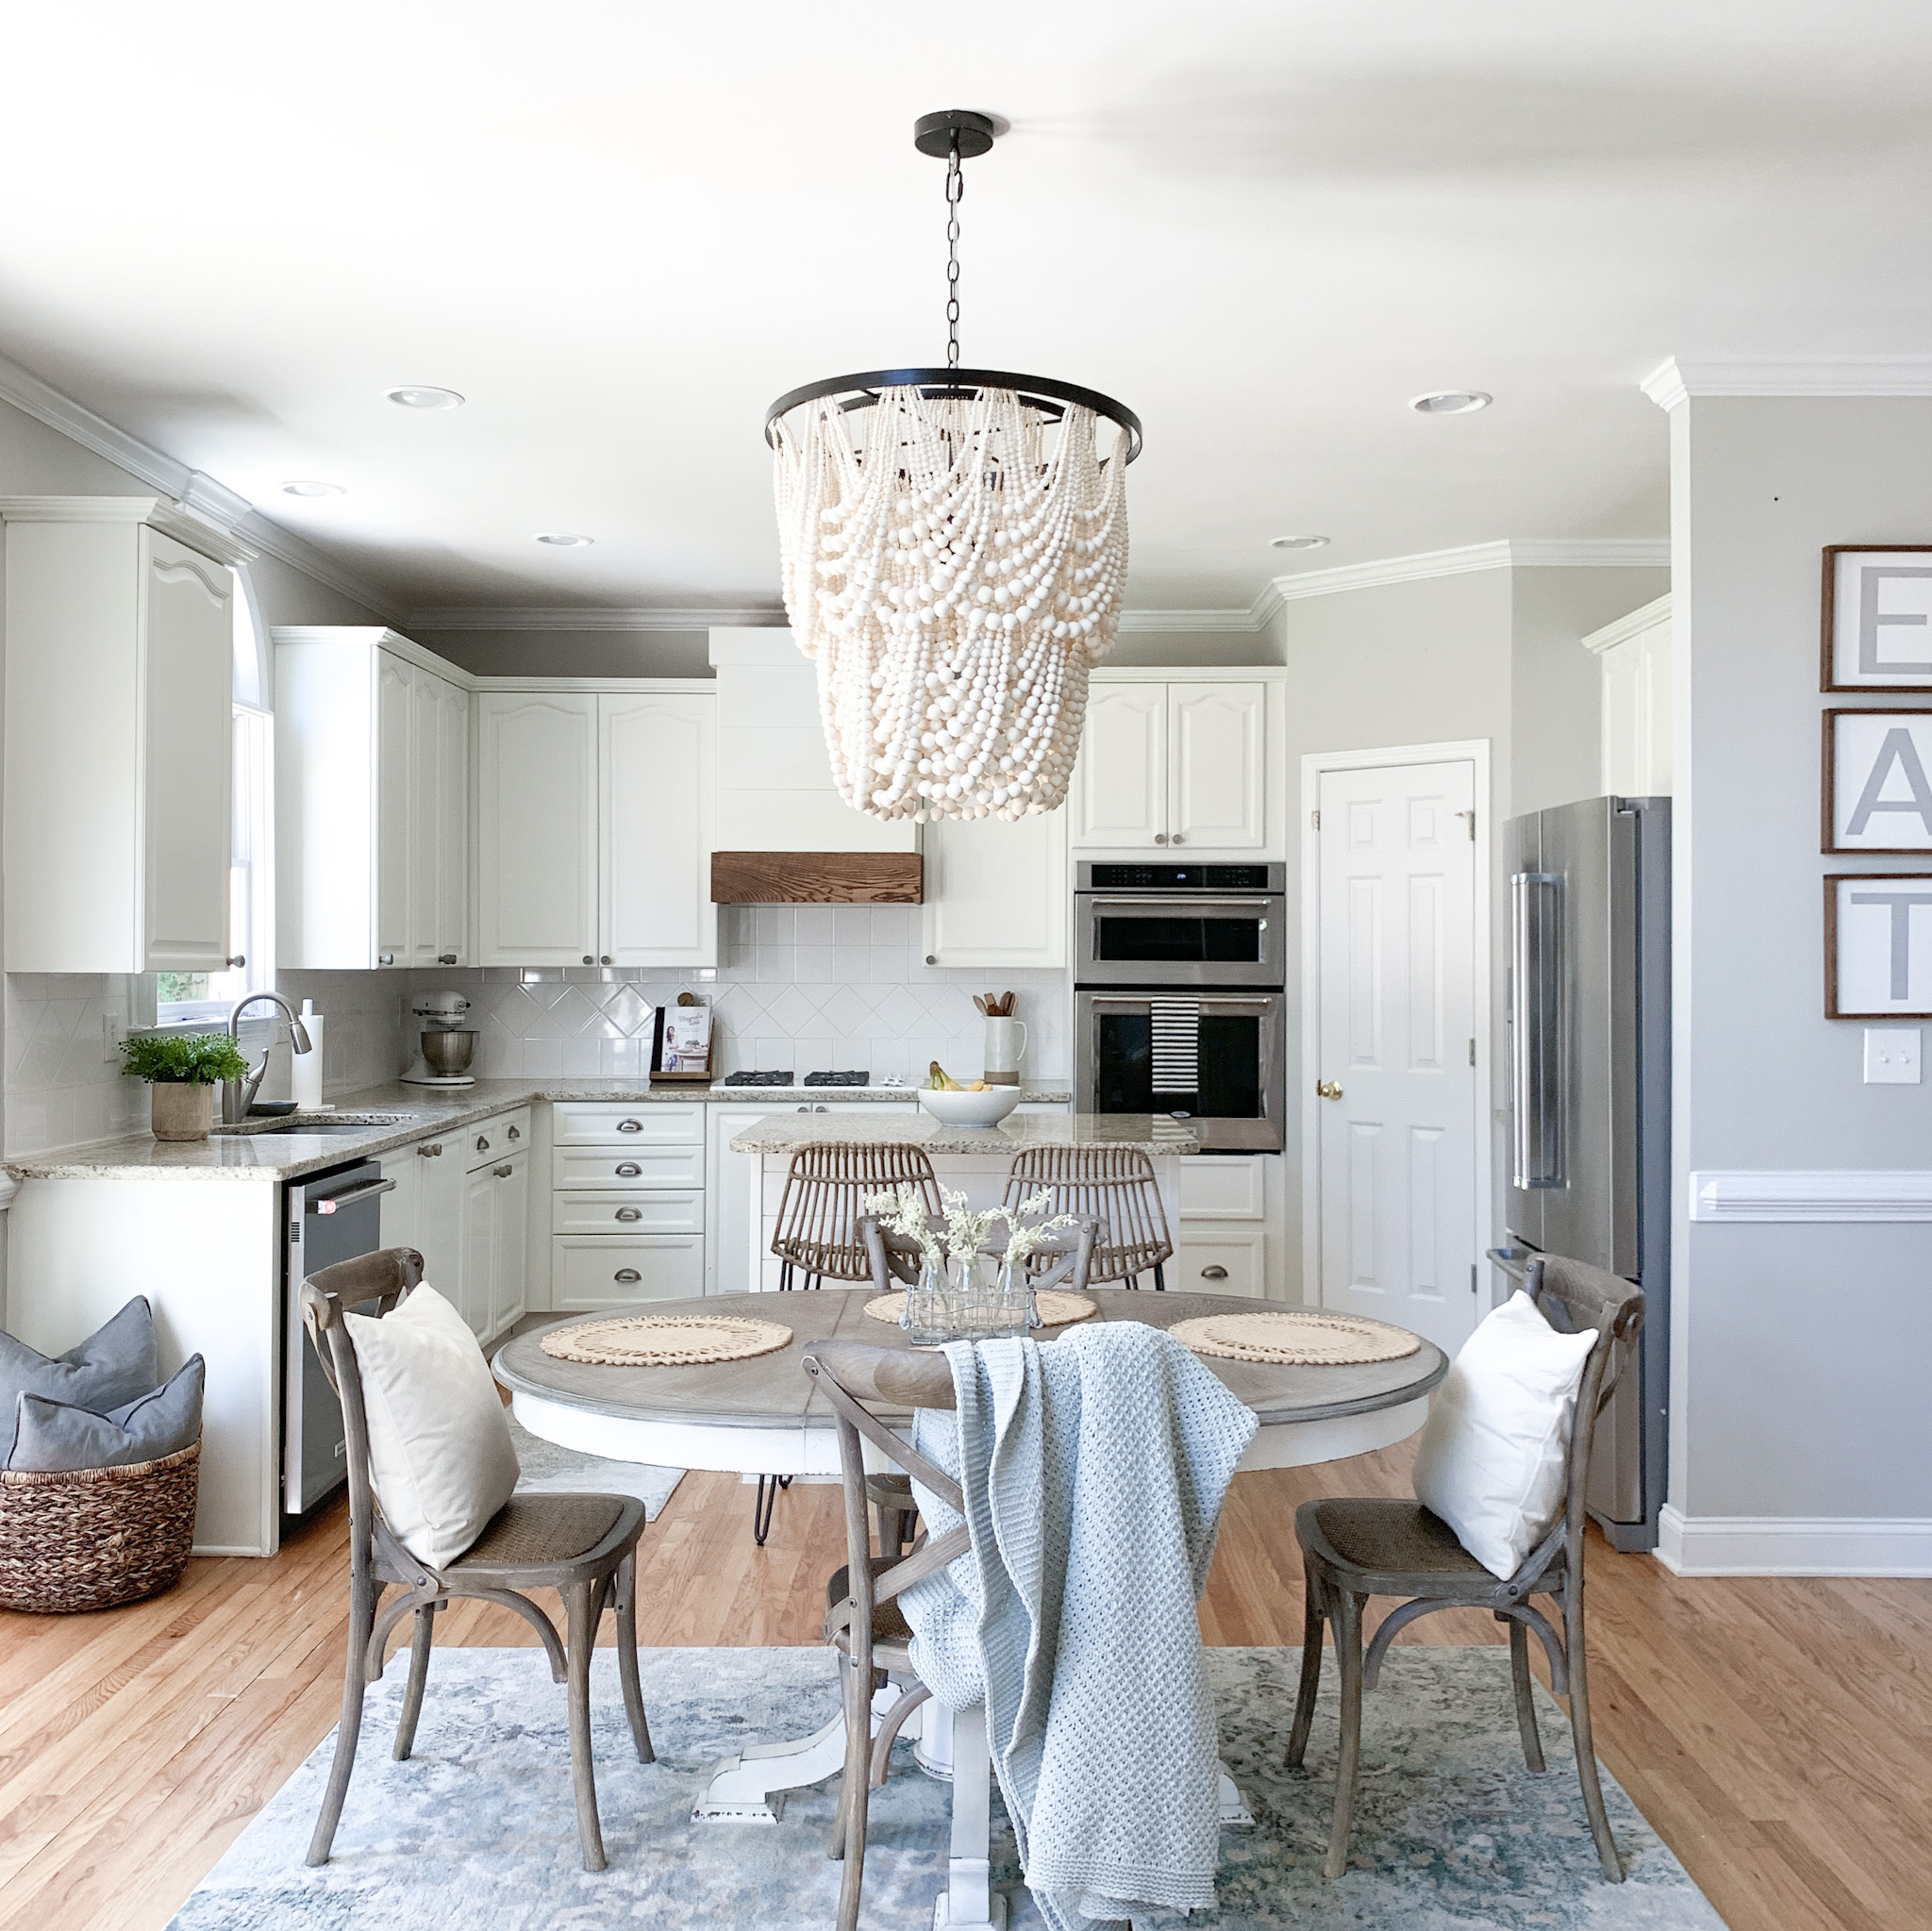
A little paint and shiplap adds so much character!
While we still have many more DIY’s on our wish list for this space, I think this added so much warmth and character to this space. What do you think?!


What is your favorite budget friendly DIY that you’ve added to your kitchen?

Grab all the items you need for your own shiplap island!

Lorem ipsum dolor sit amet, consectetur adipiscing elit, sed do eiusmod tempor incididunt ut labore et dolore magna aliqua.
Contact us at kristenbmyersco@gmail.com
Privacy Policy
Term Of Service
Disclaimer
FAQ
Interior Design by Kristen Myers Home
Copyright © 2022. All rights reserved.